Trézor.io/Start | Getting Started & Secure Device Setup
Securing your cryptocurrency is no longer a luxury—it is a necessity. With cyber-attacks rising, exchanges getting compromised, and phishing incidents becoming more sophisticated, hardware wallets like Trezor have become the gold standard of digital asset protection. If you are new to Trezor or preparing to set up your device for the first time, Trézor.io/Start is your official gateway to a safe, verified, and streamlined onboarding process. This guide walks you through the experience in a presentation-style format, providing clarity, confidence, and direction for beginners, professionals, and long-term crypto investors alike. 💼✨
1. Introduction: Why Trezor Matters in Modern Crypto Security 🔐
Managing digital wealth should feel empowering—not frightening. Trezor offers a hardware-based protection model that keeps your private keys offline, insulated from malware, phishing, and unauthorized access. Unlike custodial exchanges that hold your assets on your behalf, Trezor places complete control in your hands. This shift from centralized to decentralized custody represents one of the most important steps an investor can take.
But powerful tools require proper setup. This is where Trézor.io/Start comes in. It ensures that every new user follows authentic instructions, downloads verified software, and configures their device under safe conditions. Think of it as your runway toward secure self-custody. 🛡️💡
2. Visiting Trézor.io/Start: The Official Starting Point 🌐
The first step in setting up your Trezor device is confirming you are using the correct official link:
Trézor.io/Start
This URL redirects you to the authorized onboarding page, ensuring that your device initialization begins in an environment free from imitation websites or malicious downloads. Crypto scammers often create fake setup pages—so using the trusted official link is essential.
Upon visiting the site, you will be guided through:
Device selection (Trezor Model One, Model T, or Safe 3)
Firmware verification
Downloading the Trezor Suite
Starting the initialization process
This streamlined flow keeps things clear even for first-time crypto users who may feel overwhelmed.
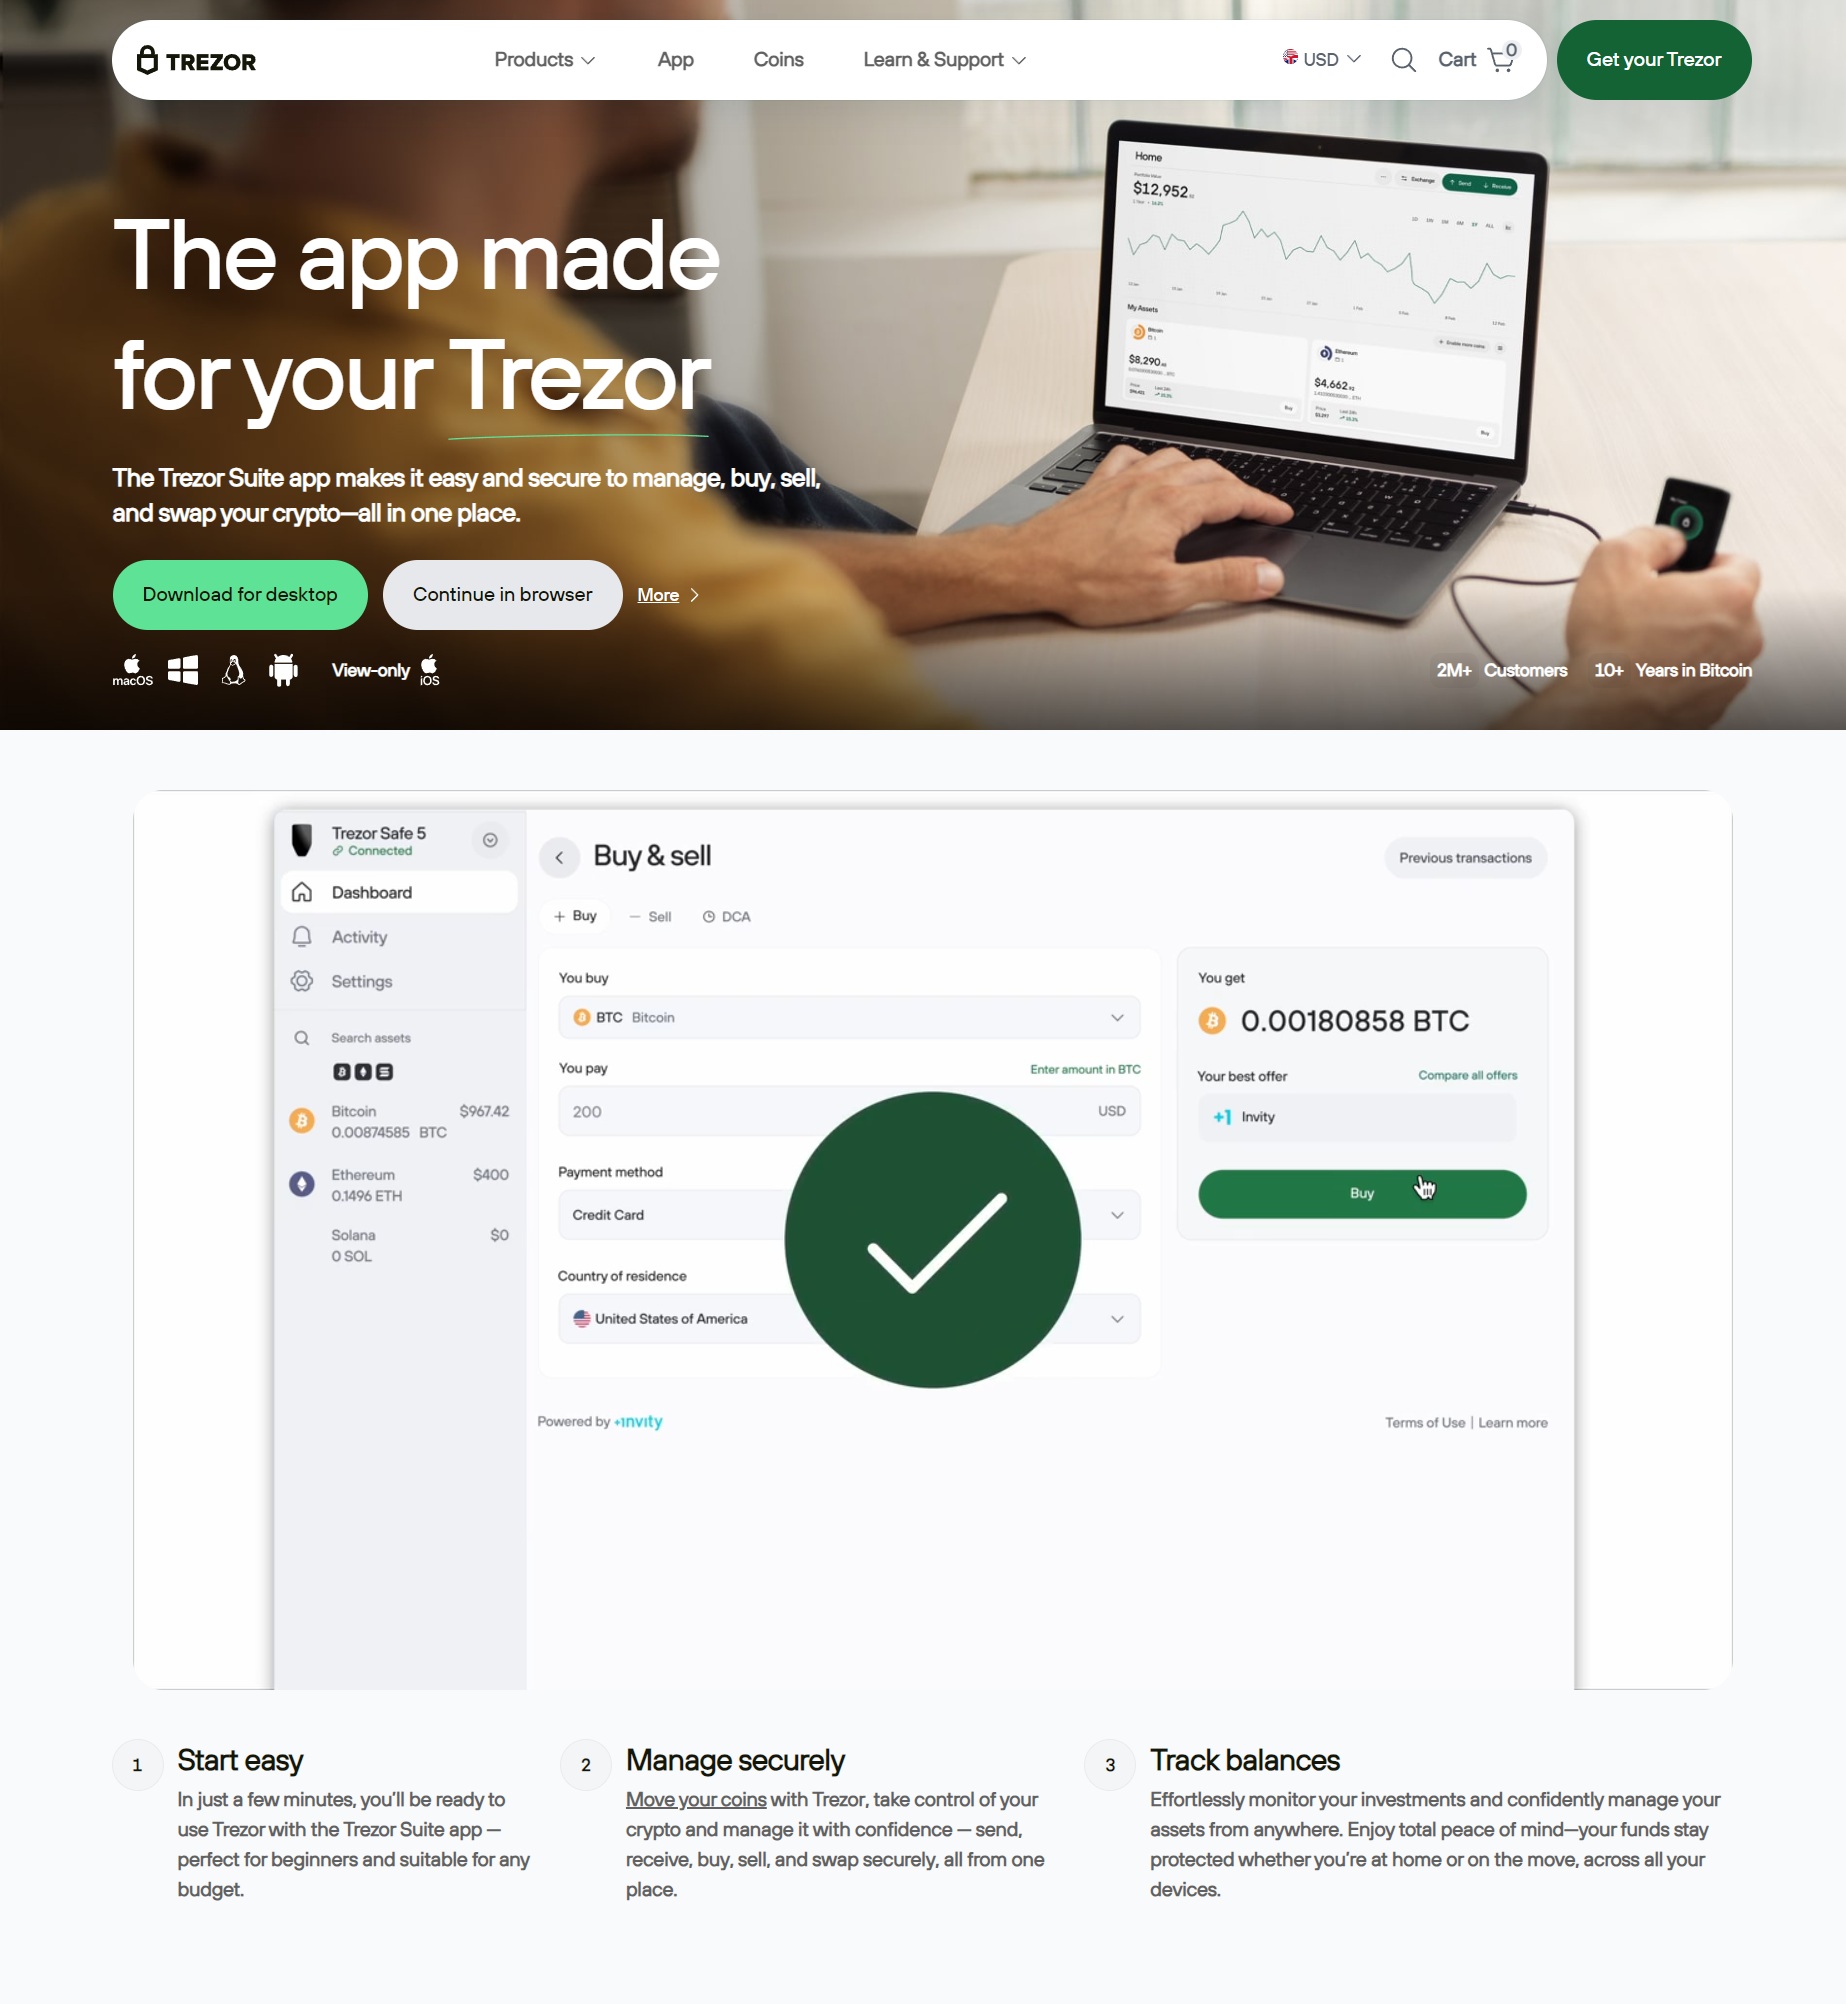
3. Downloading Trezor Suite: Your Command Center 💻
The heart of your Trezor experience is Trezor Suite, the official desktop application used for wallet management, coin transactions, portfolio tracking, and device security settings.
Trezor Suite offers:
A clean, beginner-friendly interface
Real-time price charts and portfolio stats
Built-in protection against phishing
Multi-coin support
Direct buy, swap, and sell features
Encrypted communication with your hardware device
Once downloaded, the application will automatically detect your connected Trezor and guide you through step-by-step instructions. It also ensures you always install verifiable firmware, eliminating tampering risks.
4. Unboxing Your Trezor Device: What to Look For 📦✨
Before proceeding with the setup, verify that your Trezor package is authentic and sealed. Counterfeit devices exist, so check for:
Intact holographic security seals
A tightly sealed box
No signs of tampering
Authentic booklet and cable
No pre-printed recovery seed included (a major red flag 🚫)
Trezor never provides a pre-written recovery seed. If you find one, do not use the device.
5. Initial Setup: Connecting & Installing Firmware 🛠️
Once the device is connected via USB, Trezor Suite will prompt you to install or update the firmware. Firmware installation is a critical step because:
It ensures you are not using compromised software
It activates the device securely
It allows you to verify authenticity during startup
After firmware installation, your device will reboot and prepare for wallet initialization.
6. Creating Your Wallet: Recovery Seed Generation 🧩
This stage is the most important part of your entire Trezor setup. The device will generate a 12-, 18-, or 24-word recovery seed, depending on the model.
Here’s what it represents:
Your master key to all your crypto
The only way to restore your wallet if the device is lost, damaged, or stolen
Something that must remain private and written offline
Best practices for handling your recovery seed:
Write it down on paper or a metal backup plate 📜🔥
Never store it digitally (phone, PC, cloud, photos)
Never share it with anyone
Trezor will never ask for it on a website or through email
The recovery seed is the soul of your crypto identity. Its protection is your responsibility.
7. Setting Up a PIN: Adding a Second Layer of Protection 🔢🔒
Your PIN prevents unauthorized access if someone physically gets your device. Trezor lets you create a PIN up to 50 digits long, though most users choose 4–8 digits.
Important benefits of your PIN:
Protection from physical theft
A lockout mechanism that increases delay with each incorrect attempt
Complete isolation from online attacks
Choose a PIN that is memorable but not predictable (no birthdates or repeating numbers).
8. Using Trezor Suite: Exploring the Dashboard 📊💼
Once your wallet is created, Trezor Suite becomes your daily operating space. The interface is designed like a financial control center with sections such as:
Accounts: View balances and manage cryptocurrencies
Send & Receive: Perform transactions with clear confirmations
Trade: Buy or exchange digital assets securely
Portfolio: Monitor your asset distribution
Settings: Adjust security, device labels, privacy features
The UI is optimized for both security enthusiasts and casual users. Every transaction requires a device-based confirmation, preventing unauthorized transfers—even if your computer is compromised.
9. Privacy & Security Settings: Maximizing Protection 🔏
Trezor Suite provides advanced security settings that go beyond the basics.
Key features include:
Tor integration for anonymous connections 🌐🕶️
Passphrase protection for hidden wallets
Labeling system stored locally for privacy
Password manager (for Model T users)
Secure Shamir Backup (Model T advanced feature)
Enabling options like Tor and passphrases strengthens your privacy footprint significantly, making you far less visible online.
10. Adding & Managing Crypto Assets 🪙📥
Trezor supports hundreds of cryptocurrencies including:
Bitcoin
Ethereum
Litecoin
Cardano
XRP
USDT, USDC
ERC-20 tokens
And many more
To add a coin:
Open Trezor Suite
Select “Add Account”
Choose the cryptocurrency
Confirm on your Trezor device
Your device holds the private keys, while Suite provides the user-friendly interface.
11. Sending & Receiving Crypto Safely 📤📥
Whenever you transact, Trezor ensures every step is verified on the hardware device.
Sending crypto includes:
Entering the recipient address
Confirming the transaction fee
Physically approving the transaction on your Trezor
Receiving crypto is simple—generate a fresh address and verify it on the device screen before sharing it. This prevents address-swapping malware from tricking you.
12. Backup, Recovery & Emergency Planning 🛡️📄
If your device breaks or is lost, you can recover your wallet using the recovery seed. Trezor Suite provides easy restoration instructions.
Recommended backup strategies:
Store seed backups in two separate locations
Use fireproof/waterproof metal backup plates
Avoid digital photos or cloud backup
Emergency recovery only takes minutes, as long as your seed is safe.
13. Common Mistakes to Avoid ⚠️
Many beginners expose themselves to unnecessary risks. Avoid these pitfalls:
Storing recovery words digitally
Using unofficial setup links
Sharing seed phrases
Keeping large crypto holdings on exchanges
Ignoring firmware updates
Allowing others to access your device
Awareness is your greatest safeguard.
14. Conclusion: Start Your Secure Crypto Journey Today 🚀🔐
Your crypto journey is only as secure as the choices you make. By using Trézor.io/Start, you take the first step toward mastering self-custody, building long-term confidence, and protecting your digital future.
Whether you are new to crypto or experienced in blockchain technology, Trezor empowers you with:
Offline private key protection
Transparent and open-source security
Advanced privacy tools
Easy-to-use software
Professional-grade hardware security
Start your setup today and take control of your crypto with peace of mind. 🌟🔒